Welcome to my blog

Welcome to my blog and thank you for visiting today, I hope you will stay a while. Slide shows are at the bottom of this page. Follow my blog with Bloglovin


Showing posts with label Fluffles. Show all posts

Saturday, 16 February 2013

A little more love

I Toadily Love you image from Paper Pretties coloured with Promarkers and die cut with Nestabilities. Ribbon from Crafty Ribbon. Corners punched with  


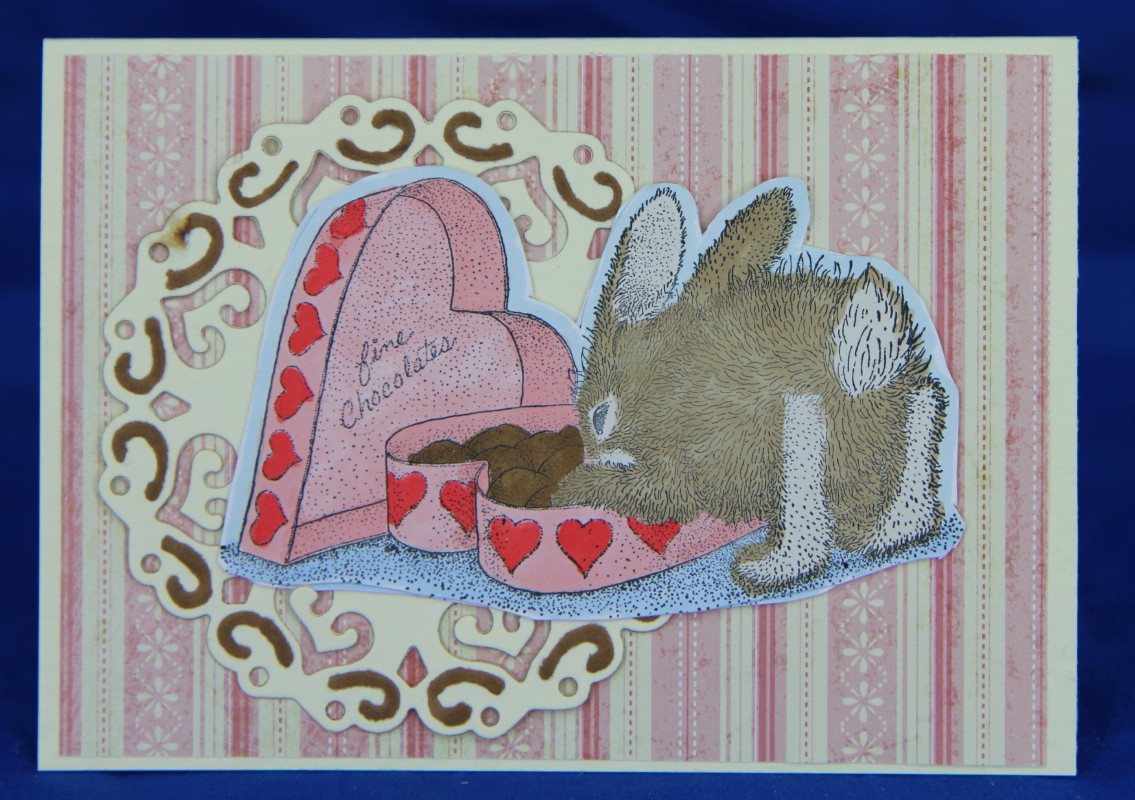
Next one is a very cute bunny eating chocolates by which is a House Mouse and Friends stamp. Coloured with Promarkers and a Spellbinders doily, with Card Making papers.

Finally for now a Fluffles stamp coloured with Promarkers and set inside a Cuttlebug embossing and cutting die. The ribbon is Crafty Ribbons. The sentiment is a Sizzix and Hero Arts die and stamp set, You & Me is a Basic Grey stamp from a clear set, and I stamped the frame again to put inside.

Thursday, 20 December 2012

Panic, less than a week to go!

Now I am making cards with all the bits I have to hand, and the images I can find that I coloured and die cut a year or maybe two years ago and these are the result. I have a lot more to make and have just about run out of handy bits so next I need to make very quick cards! (The fact I have had a relapse of my sinus problems hasn't really helped here). Today we have shampooed the carpet and cleaned the floors, washed all the dog toys and half the bedding, the other half will go in hopefully tomorrow when the first is dry, and all because a certain little man is coming to visit for Christmas and is crawling now! Dogs are due to be shampooed tomorrow too!
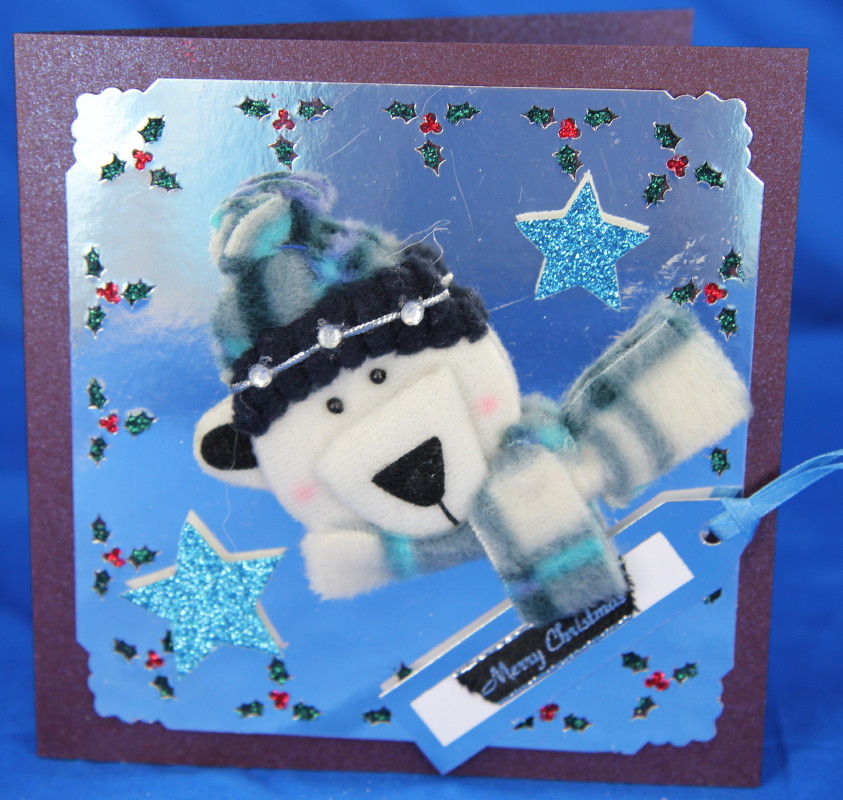
I have had this Darice topper set for ages, and didn't want to use it because it is real felt and is lovely. 

Another Darice topper set I had ages ago in a mystery box from the USA I think, the card with punched mat was all ready for something to go in the middle, I added red and green stickles into the holly shapes.


This fairy jumped into my hand and the the Snowflake Circle (Hero Arts) was already stamped and embossed and cut, they go well together.

Penny Black dog again, on one of those scalloped cards I have a pile that I die cut which is handy, the card is embossed already with Seasons Greetings, so just added some Crafty Ribbon.
I have entered this one in:
I love Promarkers - anything but square challenge ending 2nd Jan

Spyder Lyn Young's fab snowman and robin image again, another scalloped card and more Crafty Ribbon.
I have entered this one in the Chocolate, Coffee and Cards challenge - Snowmen

Another snowflake circle (Hero Arts) mounted on a scalloped card with a Spellbinders bird, and a bit of ribbon.


The house panel was done by running some metallic red card though a die cutter with a brass stencil then sanding the colour off to show the houses. Scalloped card and Crafty Ribbons Ribbons (from Bev's Christmas Bag).

This time Fluffles by Stampendous is a fairy cat, freebie paper, Crafty Ribbon ribbon, I love this and bought some and then won more in Bev's Bag and even more in Laura's blog candy!


Fluffles is helping with the trimmings! More Crafty Ribbons., This image is heat embossed in green.

This one had to be entered in the ABC Christmas challenge - Deck the Halls!

Remember the tags I made a couple of weeks ago? Well they are too good for tags, and I can't make all my tags like this so they are now on cards, freebie papers. Images by Paper Pretties.


I have entered this card in:
The Joanna Sheen challenge - with love at Christmas ends 10th Jan

Finally for now, this card was already made, I just added an insert. Tree embossed and sanded Cordinations paper, gems, torn vellum and holly eyelets.

Sunday, 22 November 2009

Quirky Crafts Weekly Challenge 17

How do you go about creating a design team challenge card?
1. First, you know what you need to do a couple of months in advance, you should not make the card in advance - you should leave it until as late as possible, the day it is due is best.
2. If a sketch is required, pick a stamp but don't try it for size against your Nestabilities die sets, that way it is more of a challenge when you find it doesn't fit any of them and you have to start again, but not before you have stamped 4 images on 6 sheets of card and heat embossed in an attempt to get a good one, and having cleared a space you should realise that there are bits of punch waste that you also need to clear, and while doing that you should tip up your newly opened embossing powder. Clear up the powder liberally covering your clothes, then for good measure tip the pot up again and repeat. Also your first stamping attempt should use dried up ink, so you have to do it again.
3. After that discover that the stamp was too big, and look for some you stamped last year that were the perfect size all the time.
4. Finally get your inky fingers all over your newly stamped image for a smutty effect.
So here is Lyn's sketch and a nice one it is too:

Followed by the finished attempt, and for good measure forget to go cook and eat your tea so you eat too late and cannot sleep!
Hop on over to Quirky Crafts forum to see the other DT member's cards or visit their blogs from the links at the side. If you show us your card on the forum you could win a prize, and you have two weeks from today to enter.


Hey, I just realised I matched the colours in the sketch drawing, which was not intentional and would not have been the case if the first image was the right size!

Wednesday, 21 October 2009

Scaredy cats


I'm in the mood for magic! Well it is nearly Halloween. These two very different cats are looking very spooky too. I found I had the gold embossed spiders web card which I had forgotten about so decided to use it, I also had a little heap of Halloween brads. Cat in a Hat is Penny Black, and he is coloured with Pro Markers and Trias, and some Stickles Ice glitter glue. The shapes are cut with two different Nestabilities label sets. The spooky edges are cut with my Fiskars rotary trimmer. Ribbon is Papermania.


Card two features fluffles as a vampire! same card, edge punched with a Martha Stewart punch, Nesties again, and bat sequins.  The Happy Halloween on both cards is from a Sizzix stamp set, and I stamped inside the second card too but forgot to take a photo.

Sunday, 22 March 2009

Happy Mother's day


Here are a few Mother's day cards I made although they would do for Mum for any occasion.


Thursday, 11 December 2008

Fat book and fat pages reveal

At last I can reveal the fat pages that I made and sent off for the swap, and my finished book with my received pages.

The fairy on the front (or is she an angel?) was made by the talented Sabina who lives in Australia.

I coloured the covers with alcohol inks in the style of Tim Holtz on his 2nd I think of the 12 tags of Christmas but my efforts look nothing like the great Tim's!

It was time consuming and stressful to get them done on time, and I was the last to post, but I love my finished book of pages from my PCJ buddies.

Here are the pages I made and sent off.